
Producing your own food is an important goal. Gardens grow veggies and grains. Hunting (or husbandry) provide meat. Sweetener is another matter. Making your own maple syrup is useful and rewarding.
Winter: everything is frozen and buried under snow. It’s
For about six weeks, from mid-February to late March, the sap begins to flow in the trees. Nutrients stored for the winter in the roots, flow upward in the sap to the twigs to fuel new growth when the sun is warm enough. Many trees can be tapped for their sap. Most have a sugar content in the sap of 1% or so. Sap is mostly water. Sugar maples (Acer saccharum) have a higher concentration: 2.5% or so.
Most of the trees on the homestead are hemlock and white pine. They’re not good for syrup: too resinous. We have some oaks too, but those have too much bitter tannin. We do, however, have a line of sugar maples along the road and several red maples in the stream bed.
Putting in the Taps:
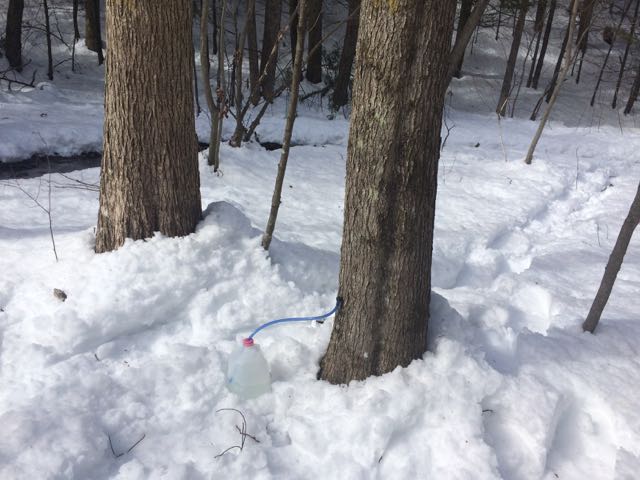
First, you drill the trees. Around President’s Day, we drill our trees and tap in the spiles. Some of our neighbors use the traditional spike spile and hanging metal bucket. We use plastic spiles with plastic tubing. Then, we set repurposed 1-gallon plastic jugs on the ground (or snow). It takes a while for a tree to leak off a gallon of sap, so as long as we check them daily, we’ve not had any overflows. The ideal weather conditions are below freezing temps at night and above freezing by day – ideally with sunshine.
A tree should be about 10″ in diameter to be tapped. Trees 18″ or larger can have two or three taps without hurting the tree.
Gathering the Sap:
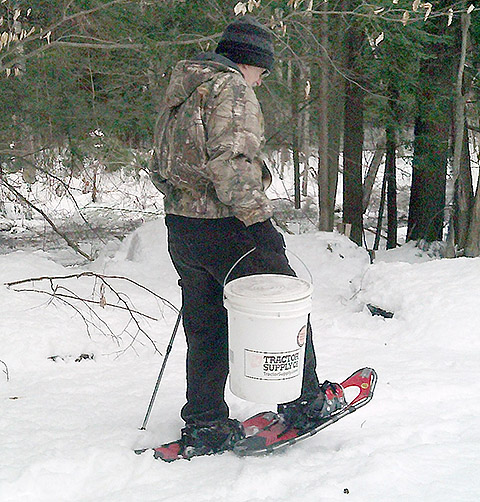
Early on in the season, the sap doesn’t flow abundantly. This is usually because the days don’t warm up enough. We can get away with checking our trees and gather the sap just once a day. We can get away with carrying a one-gallon jug and funnel to collect what flows. Shoeshoes are a big plus. New Hampshire tends to get some big snow storms in February and March. The snow in the woods can be tediously deep for walking. As the days warm and the sap flows faster, we transition to carrying a five-gallon bucket to collect the sap.
Collected sap can be kept for several days before it might begin to mold. We store our reserves of sap outside, where it is more prone to freeze overnight than it is to mold.
Testing for Sugar Content:
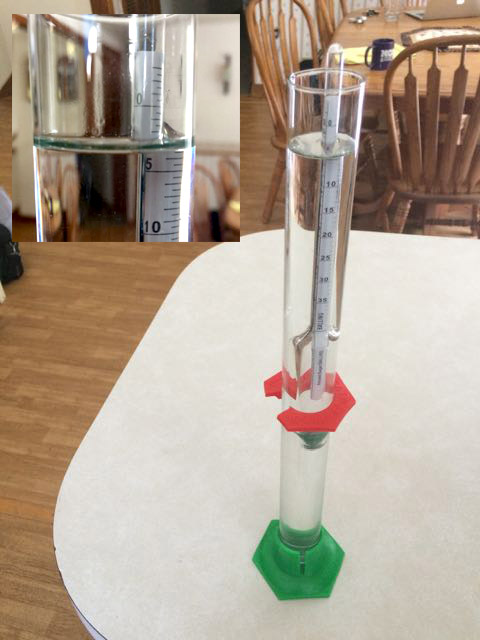
While not strictly necessary, we occasionally test our sap for its sugar content. To do this, we put a sample in the testing tube and float the hydrometer. These are used for home brewing too. They say that toward the end of a season, the sugar content goes down. You’ll still get sap, but if the sugar content is half of what it was (say, 1% instead of 2%), you’d have to boil twice as many gallons of sap to get the same amount of syrup. It starts to be too expensive (fuel costs). Generally, our mix of sugar maples and red maples have been giving us 2.5% sugar content. That’s worth doing.
I don’t know if you can see the numbers and tick marks in the inset (upper left) of the photo. It shows 2.5%. The hydrometer is calibrated for liquids at 60 degrees F. I have found that 35-degree sap will measure about a half a percent higher than 70-degree sap. It’s a density thing,
Boiling the Sap Outside:
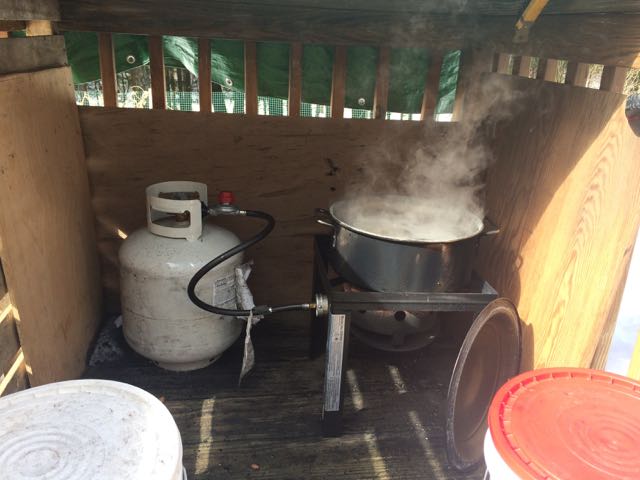
Boiling off most of the water generates a LOT of steam. Don’t try to boil down several gallons of sap inside your house. It will steam up all your windows and only encourage whatever mold your house might have. Better to boil off most of the water outside. For this, I set up a mini sugar shack on the deck using salvaged pallets and scrap plywood. This keeps snow and wind away from the pot. We use an outdoor propane burner intended for fish frying. Some use outdoor turkey fryers. I rather like the wide/shallow pot better than the tall-thin turkey pots. More surface area for evaporating the steam.
We use propane now because we can. It is handy, and we usually keep a couple of 20 lb. tanks on hand as an alternative fuel for cooking. (who wants to stoke up a wood stove in July to cook a meal?) If we were in a grid-down situation, like the “Siege” story, we would set up an outdoor burner using cinderblocks and a grate, and burn wood. It would take more tending, but certainly do-able.
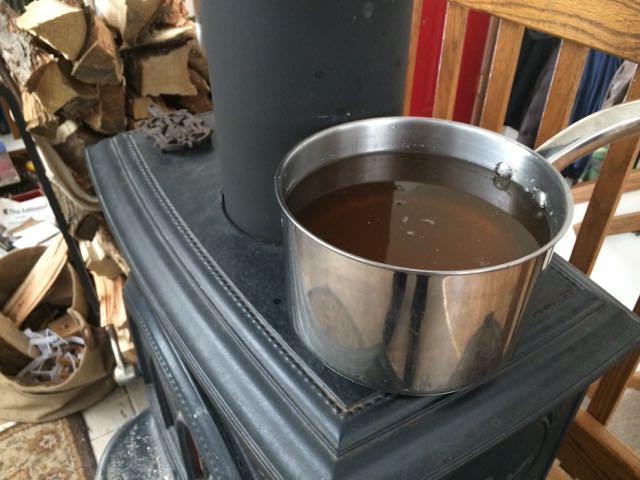
Finishing Indoors (the slow way):
When the two gallons of sap has boiled down to a quart (or so), we pour the still watery condensed sap through a coffee filter to clean out any bits that fell in (sometimes soot) or sugar sand that tends to form when the sap is boiled. The thicker the syrup gets, the harder it is to filter, so this is the easiest time for us to do the filtering.
Since it’s February (or early March) the wood stove is cranking away all day and night. We will place a pot on the stove to slowly evaporate off some excess water until we’re ready to do some finishing on the kitchen range. The wood stove never gets hot enough to boil the pot, so we never notice excess steam.
Quicker Finishing:
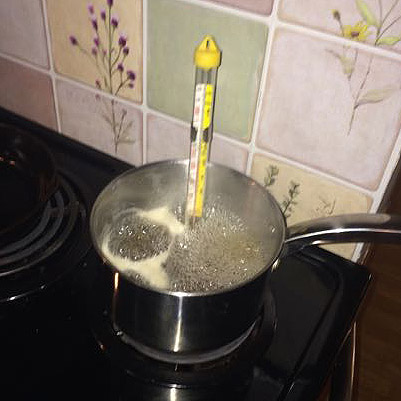
Letting the wood stove cook the sap into syrup slowly is fine when the sap isn’t flowing very fast. When the sap is flowing well, we have to process it faster. For that, we boil it on the kitchen range. The DW uses a candy thermometer as a rough indicator of when the syrup should be done. In theory, when the liquid is boiling at 219 degrees F, it is at the right concentration. After years of experience, however, the DW doesn’t rely on the thermometer much. She looks for the shape of the bubbles. Early-in, the would-be-syrup bubbles like plain boiling water. Later, the bubbles resemble soap suds. When it’s getting nearly done, there is more of a constant sheet of small tapioca-like bubbles. The syrup is more prone to foam up and boil over (if unattended). THEN, she says it’s ready for testing. (although, she already knows it’s done.)
Testing for Density:

When the DW sees her fine-grained foam, we pour a sample into the testing tube. We then float in the second hydrometer — one made specifically for testing maple syrup. This hydrometer has two red lines on it. If the hydrometer sinks to where the liquid surface is above the upper red line, it is not dense enough. Too-thin of
Floating the hydrometer between the red lines is the goal. Closer to the upper red line yields thinner, often lighter colored, syrup. Closer to the bottom line yields a thicker, sometimes darker syrup.
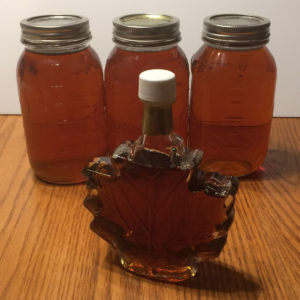
Storing in Jars:
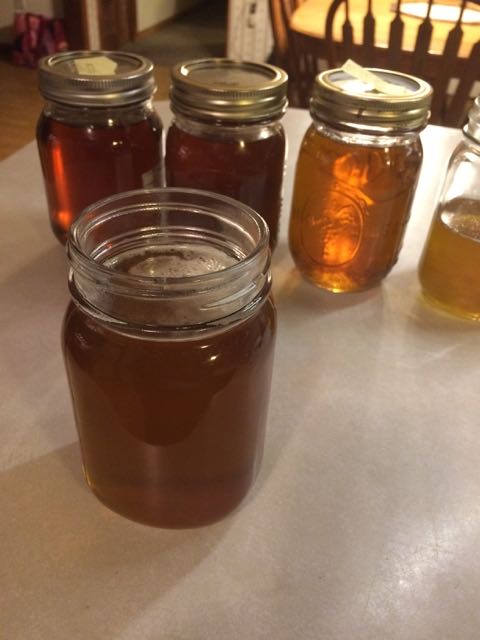
Our liquid gold is poured into clean (pre-heated) jars for long-term storage. Once sealed (and we vacuum seal ours, just for good measure) the syrup can be stored at room temperature indefinitely. Mold cannot grow on it, as the moisture content is too low — rather like honey. The DW did observe that it’s good to let the jar of syrup cool down before sealing. Putting a lid on too quickly causes moisture to condense in the headspace.
Since we don’t filter our syrup beyond that one stage, we always get a bit of cloudy precipitate that settles out as the jar sits. The cloudy doesn’t bother us, but we will pour off the clear upper syrup into new jars if we’re gifting it. The really cloudy stuff is good for maple-butter or maple-cream which are opaque anyhow.
There you have it. You can make maple syrup at home. It’s not economical compared to “Log Cabin” syrup for only $3 at Walmart. We don’t do it to save money. We do it to harvest from the land. And, if things ever did get like in the books, it would be fabulous to be able to make your own sweetener. Maybe I should make a home-ground wheat bread loaf using only our own maple syrup in lieu of sugar. Good thing everything is still buried in snow outside. That leaves time for baking 🙂
If you’ve got sugar maple trees, you could be making maple syrup too. You can collect the gear and be all ready for President’s Day next year!