
This post contains affiliate links
What do you do when springtime has your chickens laying more eggs than you can (or should) eat? We give some away, but I’m also saving my surplus for next winter when the hens stop laying. I am making powdered eggs. If you have a dehydrator, you can too!
Start Raw
I’m dehydrating raw eggs (blended/scrambled), not cooked eggs. Powdered raw egg, when reconstituted still has the ability to “set,” so it can still make scrambled eggs, or be used in cooking and baking and act as a binder like a fresh raw egg.
Don’t Be Afraid of Salmonella
When I tell some people that I dehydrate raw eggs, their faces scrunch up in an ‘ewww’ expression. “Aren’t you worried about salmonella?” The truth is: No.
The reason I’m not worried is that I am, essentially, pasteurizing my raw egg batter as it dehydrates. Salmonella is not a super-bug, able to survive nuclear blasts like a cockroach. In fact, it is killed instantly at just 160°F. That is why you are in no danger of salmonella from fully cooked eggs.
Salmonella isn’t particularly tough. It can be killed at lower temperatures. It’s just not instantaneous. Scrambled egg batter, held at 135°F for an hour and 15 minutes kills them off too. At 130°F, it just takes longer. This, according to one study.(1) Footnotes at the end.
Another source, The International Egg Pasteurization Manual (There IS such a thing. Who knew?), describes how to pasteurize raw eggs in the shell. They studied all sorts of conditions like temperature, time, salinity, pH, egg whites alone, scrambled, etc. This chart is from the Manual, Appendix A, Figure 13.
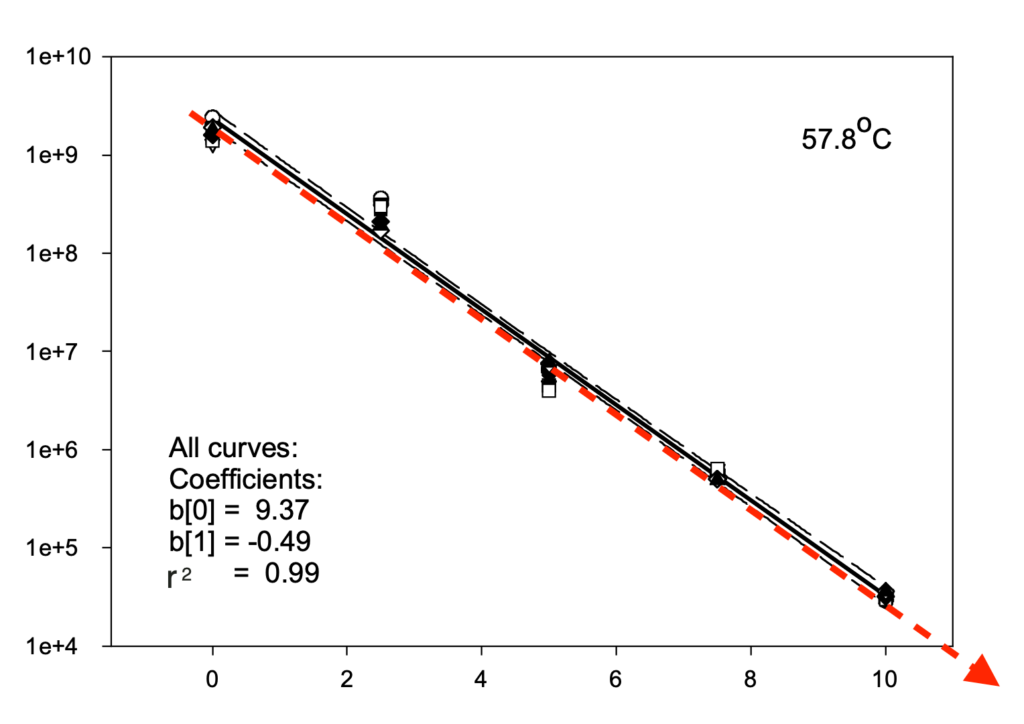
Y Axis is population. X Axis is time in minutes.
Red arrow added by author for emphasis.
Note that the temperature is 57.8°C (136°F). They start out with a population of 1 billion bacteria. After just ten minutes, the population is reduced to only 10,000. Note, too, that it is an arithmetic drop. Follow the line and there should be ZERO salmonella germs after twelve minutes.
It takes 10 hours to 12 hours at 135° in my dehydrator to turn scrambled eggs into dry flakes. How likely is it that there will be any live germs in there by then? This is why I don’t live in fear of my dehydrated eggs.
How To
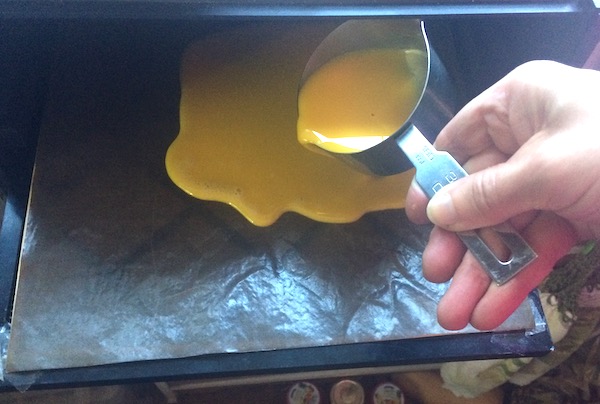
Level: Before I start, I make sure my dehydrator is level. The eggs will be poured into a thin layer. If the dehydrator is tilted, the eggs will run off.
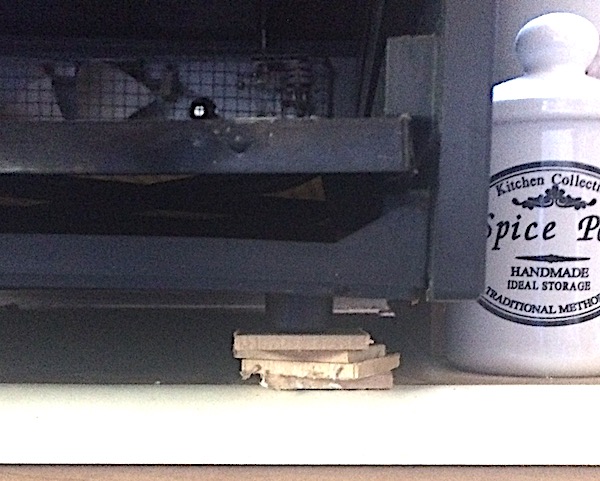
I put wooden dowels at the edges of my trays, so that the silicon sheets curve up at the sides. These are pretty low curbs, so having the dehydrator level is important.
Blend: I do a dozen eggs at a time because that’s all my 4-tray dehydrator can handle in one batch. I blend the dozen eggs for a few pulses to get them well mixed. My net result is about 24 oz. of blended egg. This will depend on the sizes of your eggs. Mine are a mix of medium and large.

Pour: I pour one quarter of the blended eggs (appx. 3/4 cup) onto each of my four sheets. This yields a puddle roughly 10” square and about 3/16” deep at the middle, tapering to near zero at the edges.
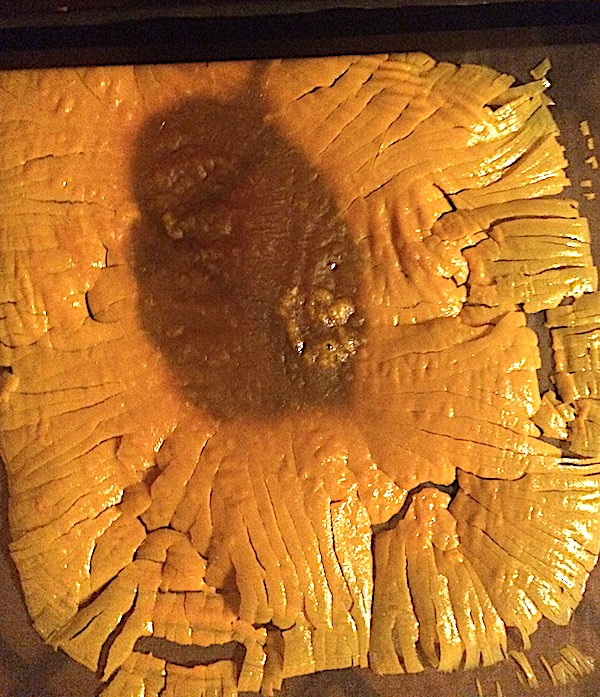
Dehydrate: I set the unit for 135°F — hot enough to kill the germs, but not so hot as to cook my eggs prematurely. It takes my little Excalibur unit ten to twelve hours to do the job.
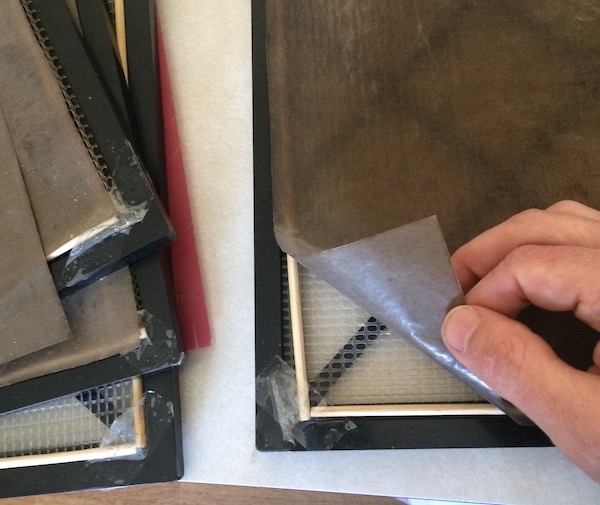
Flip: About half way through, I take the trays out and flip the rubbery (and darker) middles over so their underside gets a chance to dry. The outer areas are usually quite dry already and breaking up into flakes. When the center chunks and outer flakes are all about the same light yellow color, they’re dry enough. Since your machine will be different, adjust the time to suit your machine. You want the flakes to be all light yellow.
Grind: I break up the flakes and run them through my hand-crank flour mill. The flakes don’t go into the auger as easily as wheat berries, so I have to poke them down with a chopstick, or some other long wooden stick.
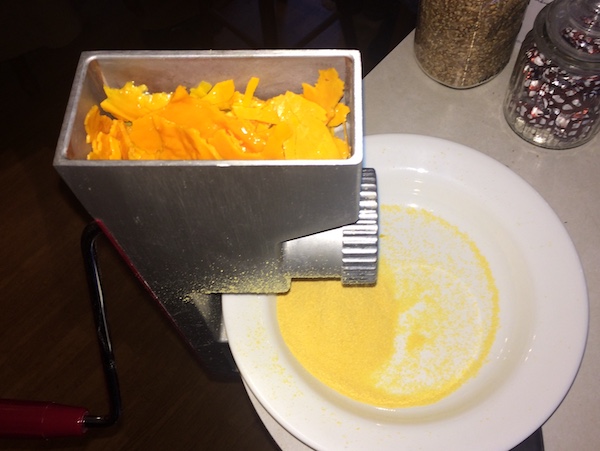
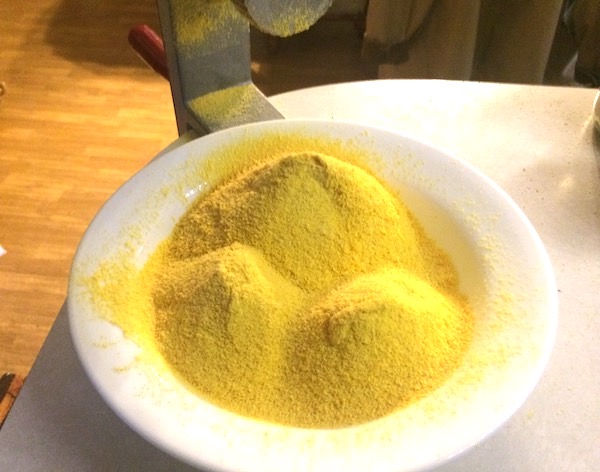
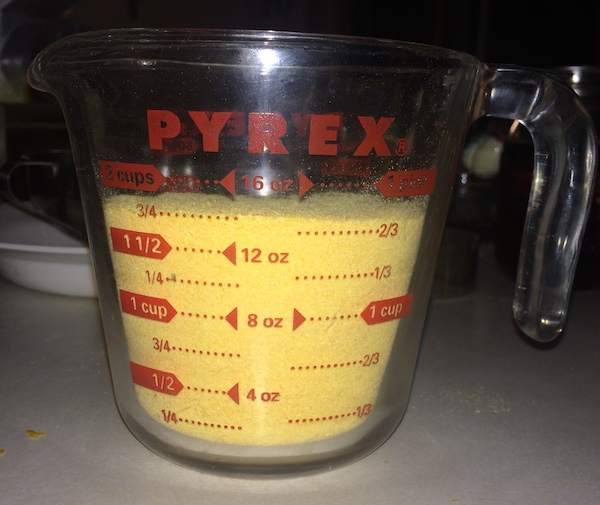
Powered Gold: Out of the grain mill comes a fine yellow powder. From a dozen eggs (24 fl.oz of scrambled egg batter) I get a scant cup and three quarters of powdered egg.
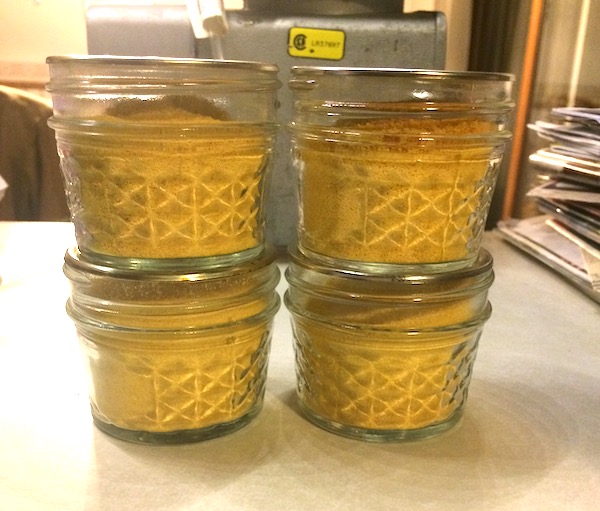
Package: The taste of powdered egg degrades in the presence of oxygen, so I divvy up my powder into small jars. A quarter-pint jar holds six tablespoons of powder. That’s enough for 3 “eggs.” A half-pint jar with roughly 7/8th of a cup of powder is enough for six eggs. I like the smaller jars because I can be more assured of using up the powder fairly soon after opening, leaving all the rest of the jars sealed.
Vacuum Seal: I vacuum seal my jars of egg powder using the FlavorSeal jar topper (This one, from Amazon) is essential for vacuum-sealing canning jars. These come in and out of availability, so you might have to look around. Sometimes they’re on eBay. If you see one available at a not-outrageous price, get it. You’ll be glad you did. Vacuum sealing other goods is useful too.
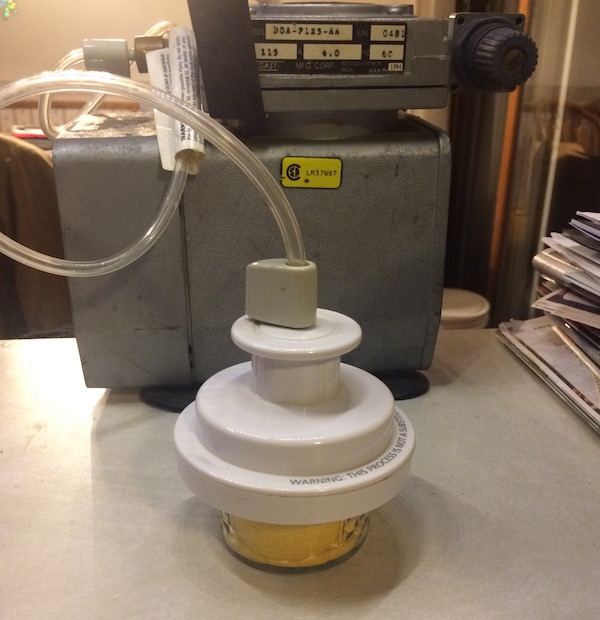
For the actual vacuum, I use a repurposed air compressor from my college art class days. To the compressor’s intake, I affixed the tube for a FlavorSeal unit (sold separately). You can use the battery operated handheld FlavorSeal vacuum pump too. While the handhelds work “okay” they seem to lack the power to force a solid vacuum. You can use oxygen absorbers as an alternate means. The trick there is to ensure a good seal so it creates a vacuum.
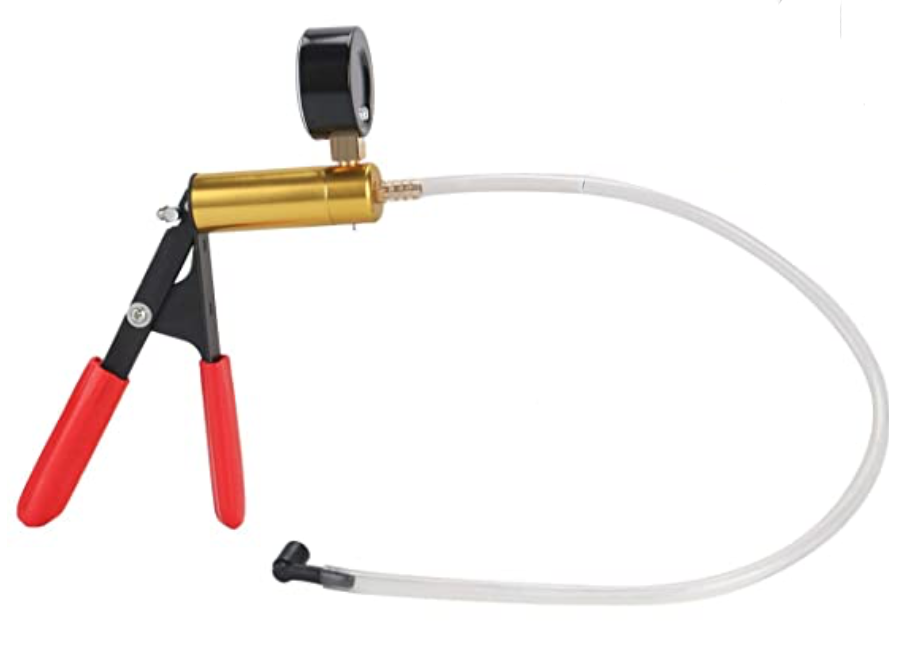
There is a YouTube video by Darcy of Purposeful Pantry, in which she uses the Flavor Seal jar topper with a hand-powered brake bleed vacuum pump. It worked, and using zero electricity, but it was a pretty serious workout for hand strength. Still, it can be done!
Storage: I store my jars of powder in the usual cool-dry environment (that is, in the house) and out of sunlight. If still sealed, the powder stays good for years.
Using Your Powdered Eggs
To reconstitute, it takes about 2 Tablespoons of powder and 4 Tablespoons of warm (not hot) water. I combine the powder and water in a bowl, mixing thoroughly, and let it stand for 10 or 15 minutes. This helps the powder granules get rehydrated better. You can then use your reconstituted egg in recipes calling for an egg and it will behave just like a fresh raw egg.
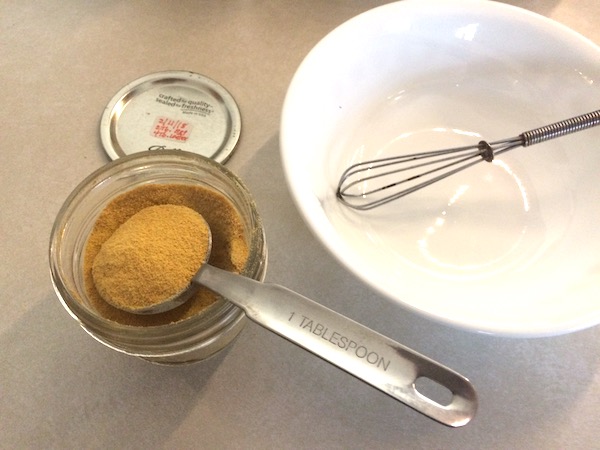
Two Tablespoons of powdered egg + 4 Tablespoons of warm water = 1 “egg”
You can eat them as-is as scrambled eggs. They will cook up like a scrambled egg product. I’ve used them in baking and to make French toast. As ‘just’ scrambled eggs, some people report being put off by the texture. If it feels gritty in your mouth, you may not have let it reconstitute long enough. I let them ‘soak’ for 15 minutes and don’t notice any grittiness. They do not cook up as fluffy as a fresh egg. The pasteurization process takes some of the fluff out of the white proteins.
Taste Test
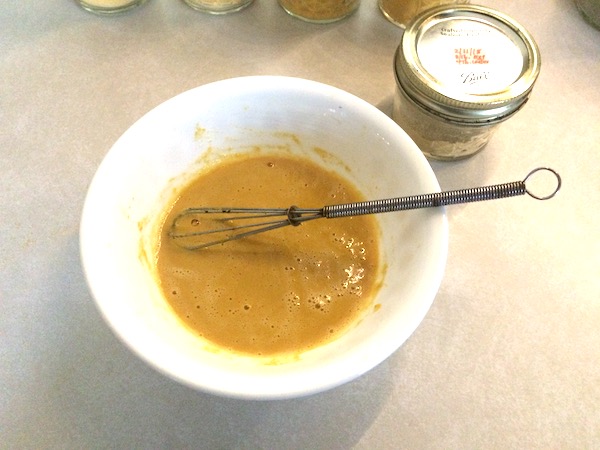
Just today, I opened a vacuum-sealed jar of powdered eggs I made three years ago: February of 2018. I mixed two tablespoons of powder to four tablespoons of water, plus just a dash more water rsince it seemed a bit too thick. I whisked this until well blended and then let it sit for fifteen minutes.
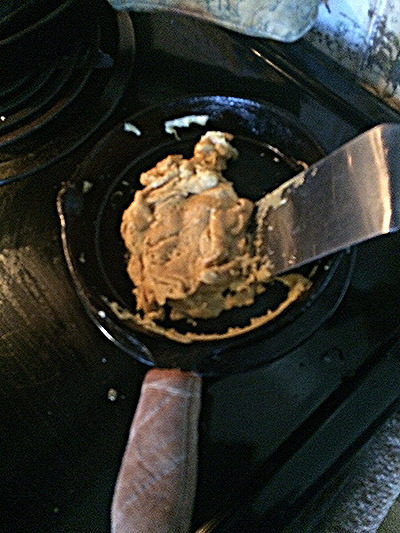
While frying my egg batter, I noticed that it did not fluff up like fresh eggs. The pasteurization manual mentioned that pasteurized eggs won’t fluff as readily. I suppose I could have tried to whip more air into the batter to make for fluffier eggs, but I didn’t care that much.
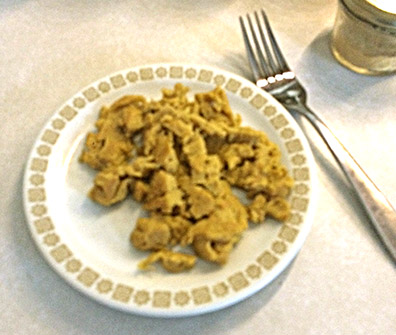
But how does it taste? Not bad, certainly not rancid, or anything disagreeable. They’re a bit bland, actually. It’s like they’re missing some of the yoke flavor and more “white” flavor. If this was the only eggs I could have, I’d be thankful for that. I have spiced them up before with other flavors like bits of onion or green pepper help boost flavor.
I’ve got several dozen eggs worth of powder vacuum-sealed in jars in stashed in my dark long-term cupboard. They will be handy later this year, when the hens stop laying.
If you’ve got chickens and they’re laying more than you can eat and you’d like to save some of that abundance for leaner times, consider dehydrating and powdering your surplus.
Footnote 1:Schuman JD, Sheldon BW, Vandepopuliere JM, Ball HR (October 1997). “Immersion heat treatments for inactivation of Salmonella enteritidis with intact eggs”. Journal of Applied Microbiology. 83 (4): 438–44.
Excellent report Mic. About the hand sealer “working” but you need serious hand strength just another reason a few hundred watts of solar power makes a LOT of difference in your life.
What is the running watts of the Excalibur dehydrator? What’s the watt’s used with the vacuum pump?
I understand if your careful with the lids they are reusable in this application? What is your experience given the effort to open them with a good vacuum seal?
The culinary tip of allowing them to rehydrate for a bit over 15 minutes is also excellent as grittiness has been a turn off for me with most dehydrated egg products.
Good report from someone that is really DOING IT. Thanks Mic!
Hi Michael,
Good questions on the power usage of the dehydrator and vacuum pump. It would be far better to run them off the batteries and solar than trying to go manual, should the grid fail. Especially, since a solar or alternate fuel dehydrator may not be able to maintain the 130°F consistently enough.
My Excaliubur was pulling an average of 220 watt-hours when set at 135°. (266 watts when the heater element was on, 14 watts with just the fan) That means I could run it for just two hours off my portable battery bank (420 available watt-hours). While that would not be enough to completely dry a dozen eggs, it would be enough to kill off any Salmonella. The rest could air dry at room temps. I’ll have to try that experiment and see how long that takes. Maybe a solar drier after the initial pasteurization stage is done.
The pump draws 480 watts, but it runs for only 5-10 seconds per jar, so only around 40 watt-hours to seal up four jars. That’s easy for solar/batteries to handle.
I do use pre-used lids for the vacuum sealing. We are careful taking off lids for that very reason. Most do just fine, holding a seal for years. A few do not. So, after sealing, I leave the jars on the counter to see which ones let go, then swap out the lid and re-vacuum. They’re about as easy/hard to open as regular hot-water-bath canning lids — too much for bare fingers, but do-able with a mechanical assist.
Thanks, Mic, From egg to powder to scrambled eggs. I’m going to give this a try. I have a bunch in the freezer but they’re really not that great.